Showing posts with label holidays. Show all posts

7.11.2013

Playing Catch Up

Can you already believe that we are almost half-way done with July? I feel like just yesterday I was waiting for school to be out and now- school is sneaking up on us again. July has already been such a great month for me and so many different things have gone on. I've made different crafts, pinned a whole lot of pins, and celebrated living in such an amazing country.

So with that said here's the rundown of what I've already done this month (with tutorials coming soon!)-


1. Remember my last post? I made an adorable galvanized bucket for the family friends that were letting us stay at there house while we were in D.C. Well we filled that bucket with lots of Fourth of July goodies, like pop-its, glow bracelets, and more! It turned out to be super cute and our friends adored it!
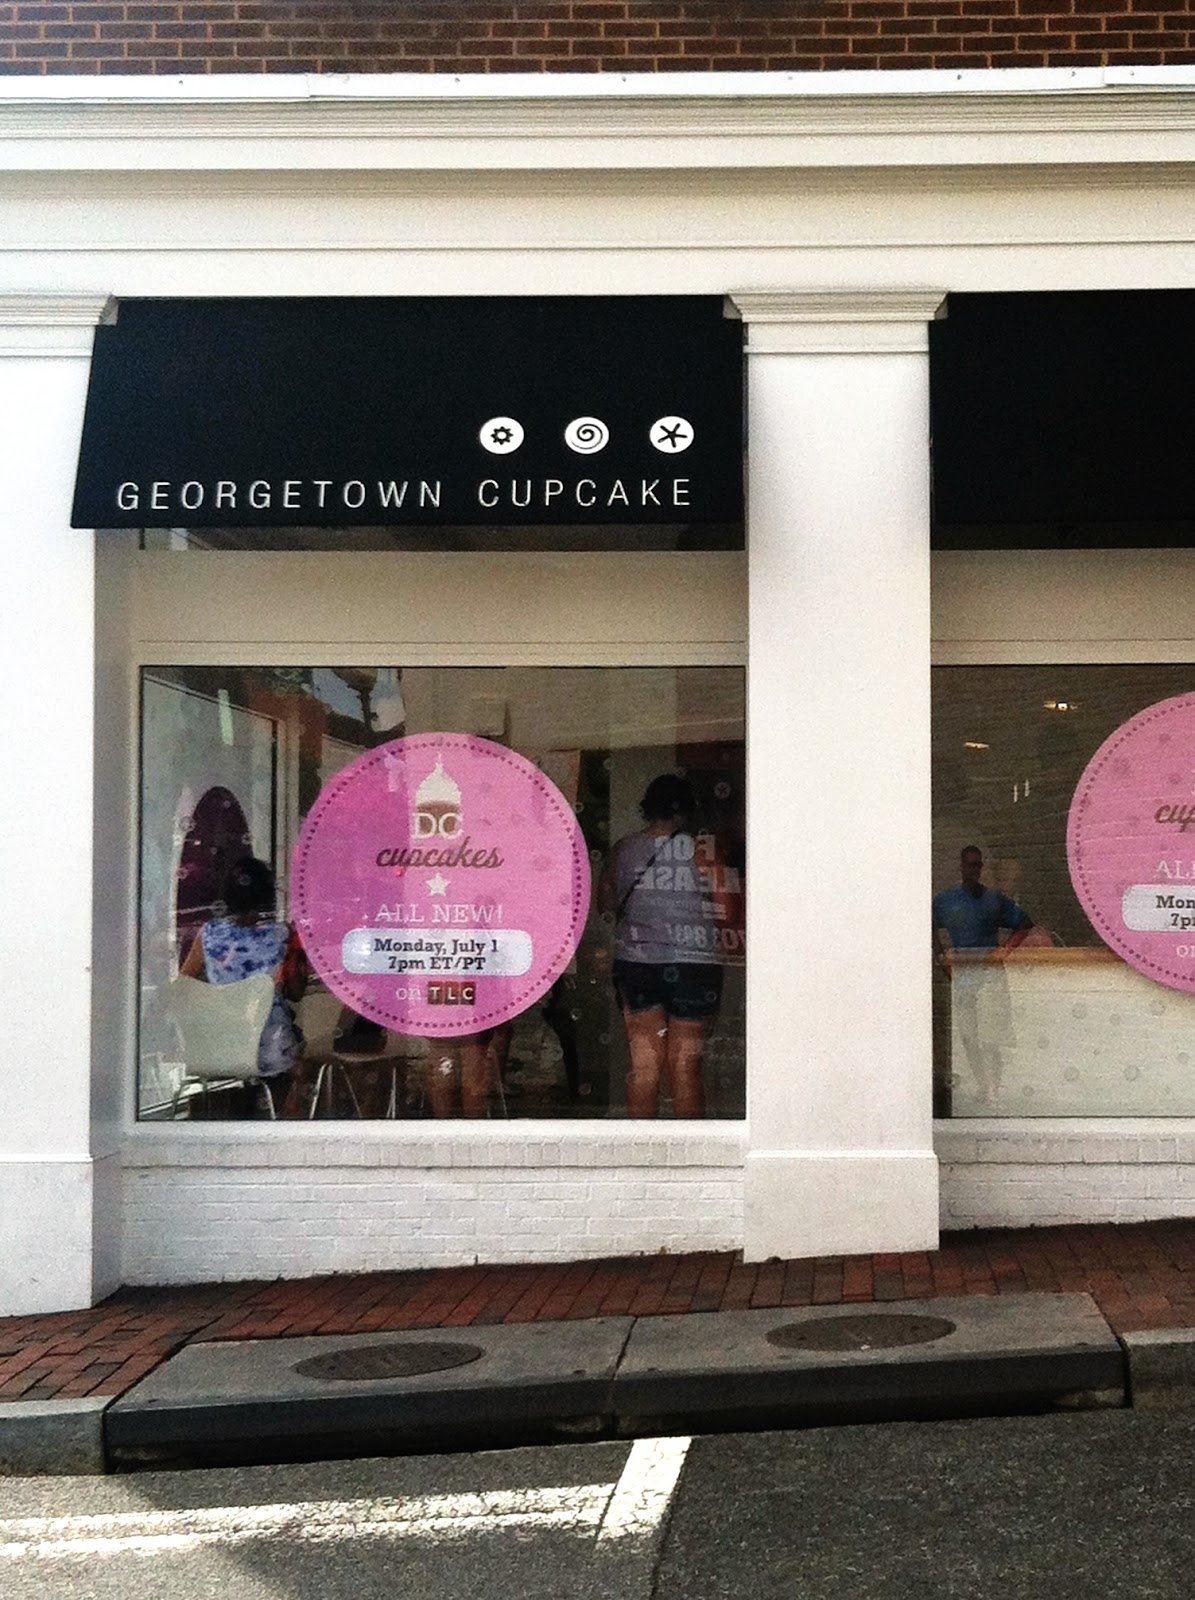


2. While in D.C. we stopped at Georgetown and got cupcakes from Georgetown cupcake! It was a really cute store and after standing in line (which took about 15-20 minutes) we got the cupcakes- but after a very hot day walking around the shops, by the time we got home all of the frosting melted! The cupcake was alright but if we would've eaten it right away it would've been better.


3. Once we finally got home I got around to making somethings that sit on my desk.
I made-

  • Washi tape pencils (with help from this pin)
  • A monogram picture to go inside this new frame I got from target.
  • The spaghetti jar- turned pencil holder with a chalkboard paint coat on the bottom
Not to mention I redid my board that I have from Pottery Barn Teen. (You can find them here) I got this for Christmas in 2011 from my Grandpa- and I love it! I'm always switching out pictures and writing on the chalkboard and whiteboards. This is my latest design on the chalkboard-


      {Let's all just seize the day}


4. One of my good friends celebrated her birthday this week and I was there to help with the celebration. Not only did I show up- I came baring gifts :)


{The adorable cake I made for the occasion}


{Cereal box letters that served as a birthday card with a note on the back!}
**could you guess what her name is?

5. Me and one of my other good friends got together to have a crafty crafty day! We spent all day (and night!) giving these wooden objects a facelift-


{For both of these I just used the same method as I did here and it all worked swimmingly}

6. Lastly if you follow my dog on instagram you may already of seen this but- I am obsessed with this picture!

 {Peace out}


Well that's how the past couple of days have been going at my crafty house! I will be back to update with tutorials for everything you see in this post. I hope everyone had a good Fourth of July.


7.01.2013

Fourth Of July Galvanized Bucket

This weekend has been a crazy crafting weekend for me! I did one pinterest project and three homemade ones that came straight from my brain. I'm documenting all of them- so let's start with the first one I made.


Like I said we are going to Washington D.C. and staying at some family friend's house. To thank them for being kind enough to let my whole family stay with them we like to bring a gift basket. Well since we will be going for the Fourth what better than an american flag inspired bucket to hold it in.


1. Bucket- This is what you are making! I picked mine up at the local Ace Hardware for 15 dollars- it was the most expensive part of the whole project. I bet you could find these any where for much cheaper- I just wasn't looking that hard.

2. Paint Brush- so you can paint

3. Paint- Red, White, and Blue ('murrica)
                  I didn't have red white and blue paint when I started this project so I thought I would be frugal and add black to the lighter colors- didn't really turn out so I had to make a quick stop to Michael's.

4. Paper Towels- You will see how I used this shortly.

OTHERS- I also used blue painters tape to make the stars and the stripes and star cookie cutters to outline the stars onto the painters tape.


1. First things first- After I bought this tub it needed a serious wash so I took it over to the hose and washed it out.


2. Then after it was all dry I sat down to start to paint. Using the white acrylic paint I started to paint small sections of the the bucket. Then using the paper towels I gently wiped some of the paint- still leaving behind white. I wanted to be able to see some of the shiny silver underneath the white. 

3. I let that dry over night just to be sure it was dry and then I taped off the sections that I wanted using my painters tape. The stripes wrap all the way around until it just to the blue part of the back and the blue part I decided by looking at the bumps that were in the tub already (you can see in the picture above).

4. Now that you have everything taped off you need to make some stars. These stars can be any size you want or can have as many points as you want it doesn't matter! To make my stars I took about six pieces of tape (all about nine inches long) and laid them on to of each other to make a little "sheet". Then using cookie cutters that I have in the shape of stars I traced them on the not sticky side of the tape sheet and cut them out. Then just stuck them onto the bucket where I wanted them to go.


5. Now the easy part! Just paint red over where the stripes are going and blue where the stars are. Wait for that to dry completely before removing the tape to see how awesome the bucket looks.


I love the way that this turned out- it is so adorable. I might just need to make myself one of these. I could totally see this being used at Fourth parties- keeping the drinks cold or holding sparklers or s'more supplies. I just can't get enough of the fourth of July! Hope everyone has a great holiday- anyone have traditions? I would love to hear! I will post more on my crafty weekend soon!
Pin It button on image hover